Common Mistakes in Environmental Portraits and How to Fix Them
An environmental portrait has one job: to show who a person is by showing where they are. A potter at the wheel, a farrier in a forge, a vet in a consulting room — the surroundings carry as much of the story as the face does. It is also one of the hardest genres to shoot well, because you are managing a person, a place and a camera at once, usually with limited time and no say in the light.
Most of the failures I see — in my own work as much as anyone else's — come down to a handful of repeating habits. The good news is that nearly all of them can be fixed on the spot, once you know what you are looking at. Below are the mistakes that turn up again and again, why they happen, and what to do instead.
Mistake 1: Shooting a headshot and calling it environmental
This is the most common version of the problem, and it usually comes from nerves. You back the subject against the nearest wall, stand a couple of metres away, and shoot tight because tight feels safe. The result is a perfectly serviceable headshot with a blurry slice of workshop behind it. The location has been reduced to wallpaper.
The fix is to pull back farther than feels comfortable — and then take one more step back. Try a deliberate exercise: for the first ten frames, the person's head must not occupy more than a quarter of the frame. Include the bench, the floor, the doorway, the clutter on the shelf. You can always crop in later; you cannot invent context that was never in the frame.
Pair that with a 35mm or 50mm lens rather than a telephoto. Long glass compresses the background into mush, which is exactly what you do not want here. You want the viewer to be able to read the room.
Mistake 2: Letting the background happen to you
In an environmental portrait the background is not decoration — it is the second subject. That means it deserves the same attention as the face. Watch for mergers: a window glowing directly behind the head, a shelf bracket sprouting from an ear, a strip light that reads as a halo. Watch too for the white van through the window, the exit sign, the fire extinguisher, the half-drunk mug of tea.
- Scan the whole frame, corner to corner, before every burst — not just the area around the face.
- Move your feet before you move the subject. Most background problems are solved by shifting half a metre sideways or dropping the camera a few centimetres.
- Remove what isn't theirs. A working space should look used — that is the point — but your subject's personal mess is different from your own camera bag sitting in the corner.
- Turn off the obvious distractions. A monitor, a flickering fluorescent tube or a kettle lead trailing across the floor will pull the eye away from the person every single time.
An environmental portrait is not a picture of a person in a room. It is a picture of the relationship between the two.
Mistake 3: Lighting the face and abandoning the room
New photographers often arrive with a single speedlight, point it straight at the subject, and end up with a face that looks pasted onto a murky brown background. The person is lit; the story is not. Fixing this is mostly a matter of order of operations.
- Expose for the room first. Find an aperture and shutter speed that make the surroundings look the way your eye sees them.
- Add flash only to fill. Start roughly a stop to a stop and a half below the ambient light and bring it up if the face is too dark.
- Bounce whenever you can — off a pale wall, a ceiling, a white board, even a sheet of steel.
- Match the existing colour. In a forge, a bakery or a bar, the practical light is warm and full of character. Gel your flash to sit alongside it rather than fighting it.
And do not ignore the light that is already there. A shaft of afternoon sun through a dusty workshop window, or the glow of a welding arc, is worth more than any modifier you own.
Mistake 4: Directing poses instead of giving tasks
"Can you just look natural?" is the least natural instruction in photography. People immediately become aware of their shoulders. The alternative is to give instructions that occupy the body and free the face.
Ask them to do something they genuinely do: knead the dough, check the weld, sharpen the blade, coil the rope, stamp the form. Then shoot while they work, and watch for the moments between actions — the pause, the glance down, the small frown of concentration. That is where the person actually appears.
Do not overlook hands. In most environmental portraits, hands are doing half the storytelling, and they are usually the first thing to look awkward. Give them a real job and they will fall into place.
Mistake 5: Using a wide lens without respecting it
Wide angles are the natural choice indoors, but they distort ruthlessly near the edges of the frame. A face placed in the corner of a 24mm frame will look stretched and strange, and no amount of retouching will fully undo it.
Keep faces and heads toward the centre, keep the camera level so verticals stay vertical, and never put the lens thirty centimetres from a nose unless the exaggeration is deliberate. Use the wide angle to include the room, not to get closer to a face.
Mistake 6: Standing at eye level for every frame
Shooting an entire session from standing height produces a set of images that all feel the same — and it quietly ignores everything that makes the location interesting. Change your own position, not the subject's.
Get low and shoot past the machinery in the foreground. Stand on a crate for the overhead of the workbench. Shoot through a doorway or a window frame. Use a reflective surface — a kettle, a polished vice, a glass cabinet — as an element in the composition. Variety of angle is what makes a set of environmental portraits feel like a story rather than a contact sheet.
Mistake 7: Rushing the relationship
Environmental portraits are made of trust, and trust takes minutes you often feel you do not have. Rushing in, moving tools, and ordering people around will show up in the pictures as stiffness. Slow down for the first five minutes. Explain what you are doing and why. Ask what they would rather was not in the frame, and ask before you touch anything. Never compromise a safety rule for a better angle — not theirs, and not yours.
A quick pre-shoot checklist
Run through this before you raise the camera, and most of the mistakes above disappear on their own.
- Who is this person, in one sentence?
- What is the single object in this room that says the most about them?
- Where is the light coming from, and how will it change in the next twenty minutes?
- What is in the background, corner to corner?
- What will their hands be doing?
- Where will I stand for the wide, the medium and the detail?
When the space won't cooperate
Small rooms, low ceilings, ugly carpet, a window that faces the wrong way — these are normal, and they are not an excuse. Treat the constraint as the frame. A doorway becomes a natural vignette. A dark corner becomes a place to hide the clutter. A cramped workshop forces you in close, which is often exactly where the intimacy lives.
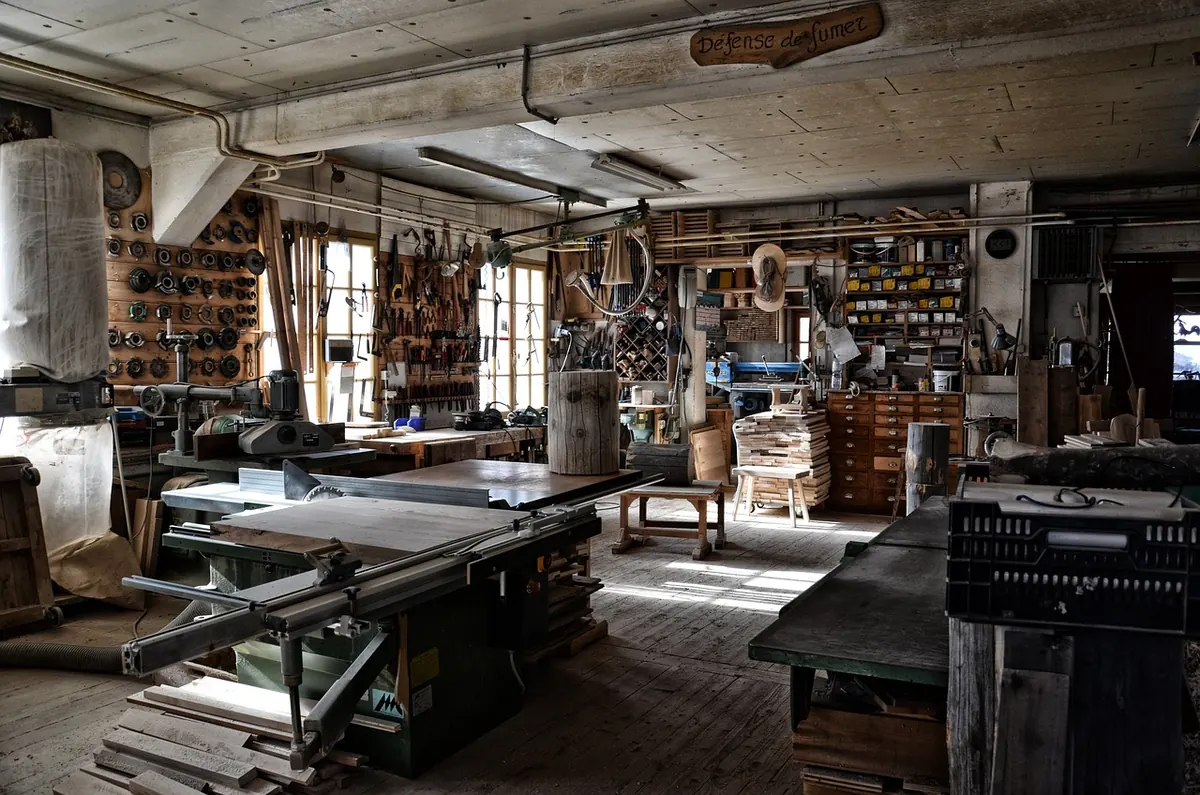
Remember too that the portrait does not have to include a face at all. A pair of worn hands, an apron hanging on a hook, a wall of tools arranged by someone over forty years — these are still portraits, and they can carry the story when the light or the room simply will not allow anything else.
Get the relationship right first, and the technique second. The person is the subject; the place is the argument. When both are speaking clearly, nobody notices which mistakes you avoided and which you simply worked around.
Photo: ThMilherou / Pixabay