Architecture photography often gets treated as a matter of straightening verticals and waiting for decent light. That is half the job. The other half is deciding where the viewer's eye should travel once it lands on the frame. Leading lines do that work: they take the eye by the hand and walk it from the edge of the picture towards whatever you have decided matters. In buildings, those lines are everywhere — the sweep of a staircase, the rhythm of a railing, the long arrow of a shadow across a floor. Your task is not to invent them, but to notice them, then position yourself so they point somewhere worth going.
What Leading Lines Actually Do
Leading lines are any strong linear element that draws the eye into the frame and towards a subject. They can be straight or curved, obvious or subtle, and they work best when they lead somewhere. A corridor that pulls the eye to a distant window is doing its job. A railing that drags the eye towards a blank wall is not.
In architecture, lines tend to arrive in pairs: converging lines on either side of a corridor, parallel lines along a façade, curved lines down a spiral stair. Converging lines add depth because they mimic perspective. Lines that converge from above or below — a stairwell shot straight up — give a different feeling altogether: compression, height, a little vertigo. Look at the direction the lines run before you lift the camera, then decide whether that is what you want.
Staircases: The Most Generous Subject
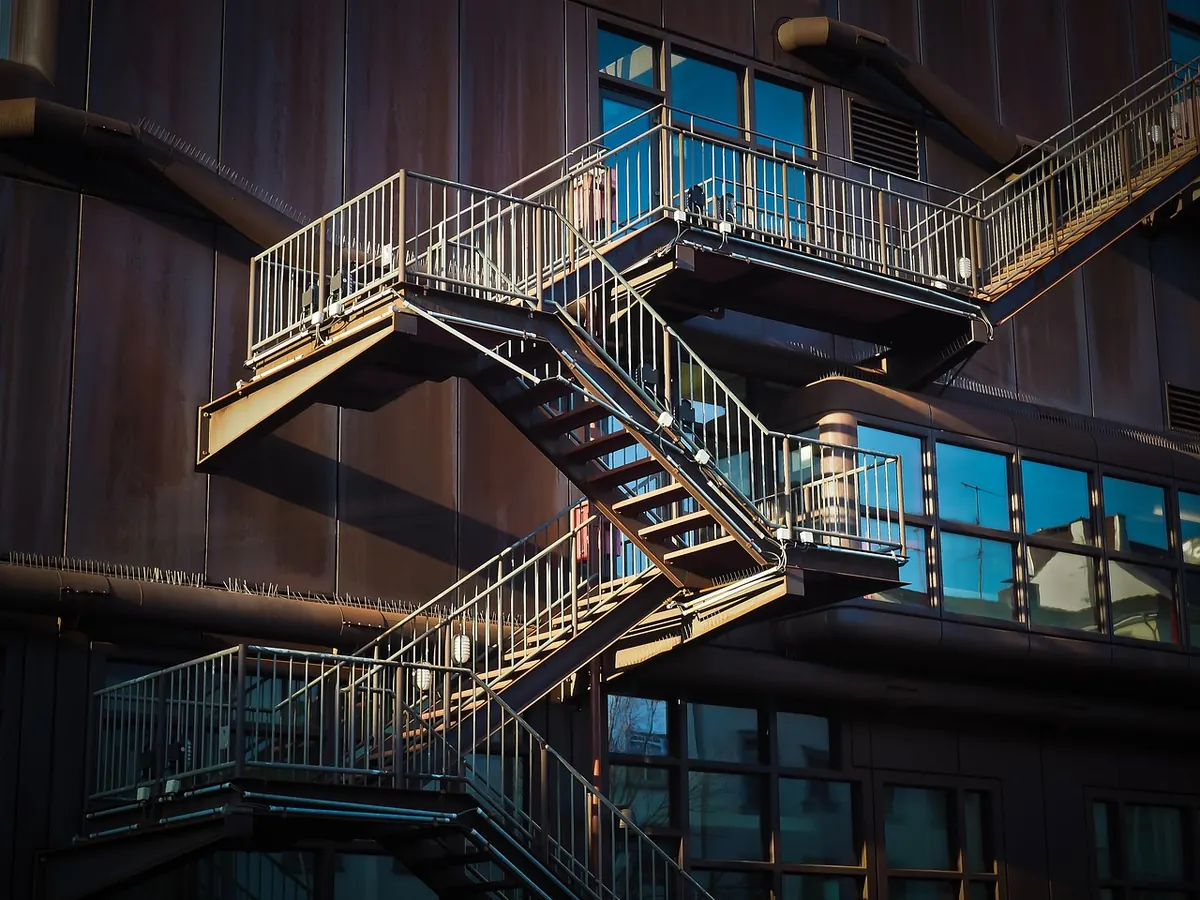
Staircases are the most reliable source of leading lines in the built environment. They are designed to move people in one direction, and they almost always curve or angle in a way that reads well in two dimensions.
A straight flight shot from the bottom, slightly off-axis, gives you two lines to work with: the handrail and the edge of the steps. Move left or right until the two lines converge towards a single point rather than crossing awkwardly. Shoot from the base and the staircase rises away from you. Shoot from the top and it falls away, which feels less inviting but works well when the light at the bottom is the real subject.
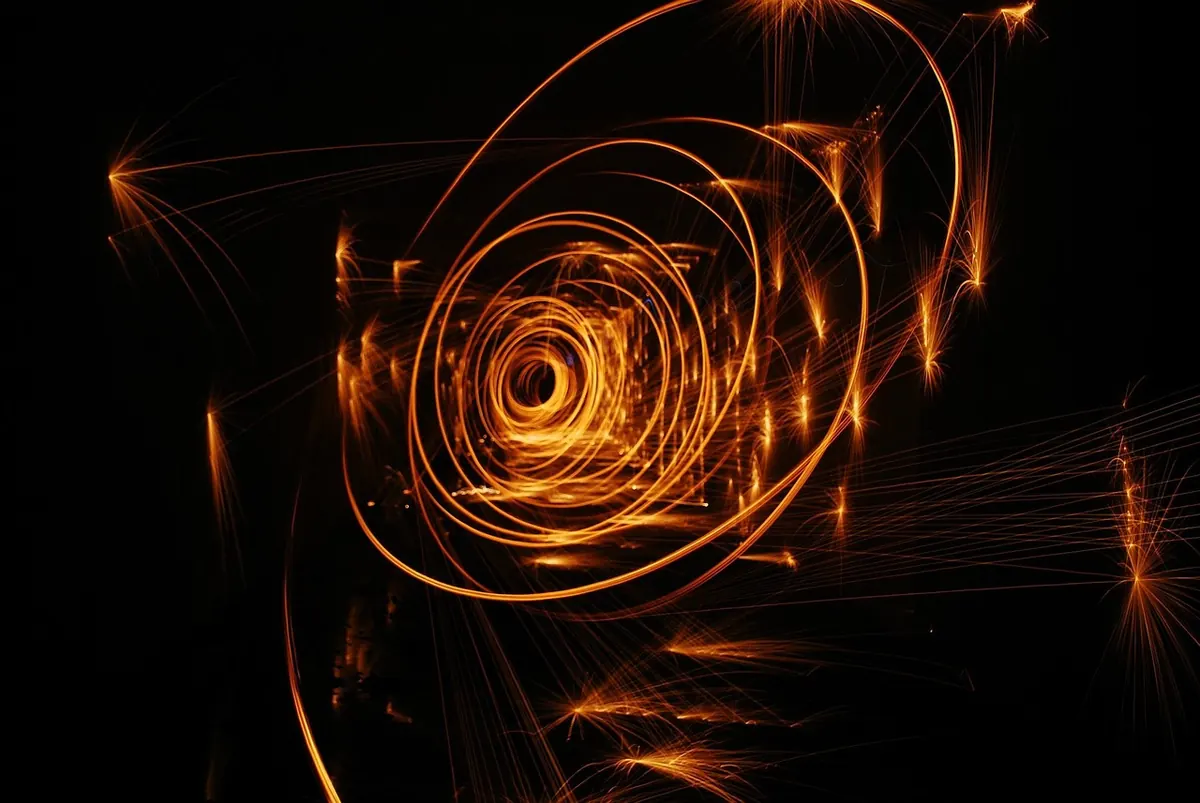
Spiral staircases are a gift. Stand underneath, point the camera up, and you get a spiral of curving lines around a bright core. Stand directly above and the spiral reverses. Both are easier with a wide lens — something in the 16–24mm range on a full-frame camera — though anything wider than about 20mm starts to bend the outer edges noticeably. If your lens is not that wide, do not fight it. A tighter composition that crops the spiral into a partial curve often reads better than a strained attempt to fit the whole thing in.
Small moves, big changes
Shifting your feet by 30 centimetres changes how a staircase reads more than switching lenses will. Once you find an angle you like, work it: three or four frames, a step or two apart, then compare them later. The differences will surprise you.
Railings, Balustrades and Handrails
Railings do the same job as staircases, but horizontally, and they are everywhere: galleries, bridges, hospital corridors, multi-storey car parks. Look for a railing that leads towards something — a doorway, a window, a figure — and get the camera close to the line so it starts near a corner of the frame. Lines that begin in a corner feel deliberate. Lines that begin halfway up the left edge usually feel accidental.
The balusters matter as much as the top rail. A row of vertical posts becomes a comb of short lines that reinforces the direction of the rail. Shoot along the row rather than across it and let the posts overlap into a dense rhythm at the far end.
Resist the urge to include everything. A railing that fills a third of the frame and points at something interesting beats a railing that fills the whole frame and points at nothing.
Shadows and Light as Line
Shadows are the leading lines you do not have to find in the architecture itself. A low sun through a colonnade throws parallel bars across a floor. A window with mullions paints a grid on a wall. A single shaft from a skylight draws a diagonal down a stairwell. These lines are temporary, which is part of the appeal, and they need planning.
Come back at a different hour. In Britain, the low winter sun gives you long shadows for much of the afternoon, while a high summer sun keeps them short and harsh. Overcast days flatten everything, so use them for shape and repetition instead and save the shadow work for clear light. Expose for the highlights: shadow lines are strongest when lit surfaces stay bright and the shadow stays genuinely dark, so meter for the sunlit wall and let the shadow fall where it wants.
Repetition: When Many Lines Become One
Sometimes a building gives you hundreds of lines and no single one of them matters. That is where repetition takes over. A row of windows, a run of ceiling beams, a colonnade, a stack of balconies — each is a small line, but together they create one direction, and the eye follows the pattern rather than any individual element.
- Fill the frame with the pattern and let the edges crop cleanly.
- Break the pattern deliberately with one element: a figure, an open window, a different colour.
- Shoot square-on for order, or at a slight angle so the lines shear and add depth.
- Check the corners. Patterns make edge clutter far more obvious than single subjects do.
Practical Points Before You Press the Shutter
- Line the leading line up with something worth arriving at, not just the middle of the frame.
- Keep the camera level and correct verticals afterwards, or use a tilt-shift lens if you have one.
- Get close to the line with a wide lens, or stand back with a longer one to compress the perspective.
- Leave breathing room at the end of the line — the eye needs somewhere to land.
- Use a tripod in dim stairwells, but check the building's rules first; many galleries, cathedrals and private spaces restrict them.
- Stay safe and courteous: do not lean over balconies, block stairs or photograph people who have not agreed to it.
A Routine Worth Practising
Leading lines are a skill of observation more than equipment, and the fastest way to improve is to work a single location properly.
- Walk the space first with the camera down. Notice where the light falls and which lines are doing the most work.
- Pick one line and commit to it. Ignore the other nineteen for now.
- Shoot the same frame from three or four positions, moving a step at a time.
- Review at home and keep one image. Work out why it won, and take that reasoning to the next building.
Do this in a stairwell, a station concourse and a church porch and you will start seeing lines before you have even raised the camera. That is the point at which architecture photography becomes much less about the building and much more about your reading of it.
Photo: 652234 / Pixabay