Stand on any high street at dusk, hold the camera still for four seconds, and the traffic dissolves into ribbons of red and white. Nothing in the scene has changed except the amount of time you allowed the sensor to watch it. Slow shutter speeds are the most direct route into abstract photography, because they strip away the things we normally lean on — sharp edges, readable signs, familiar faces — and leave shape, colour and movement behind.
You can do all of it with the camera you already own. Here is how to turn motion blur, camera movement, water and artificial light into images that look nothing like the place they came from.
Blur Is a Record of Time, Not a Mistake
A sharp photograph answers the question "what did this look like?" A slow one answers "what happened here?" Once you accept that, blur stops being a technical failure and becomes a decision.
The result depends on two things: how long the shutter stays open, and how much is moving while it is. At 1/8 second a walking figure smears while the buildings behind stay crisp. At 30 seconds even those buildings start to glow and the people vanish altogether. Same street, same lens, two entirely different pictures.
Set Up So Shutter Speed Is the Only Variable
Work in manual mode and choose your shutter speed first. Everything else exists to make that speed possible.
- Aperture. f/8 to f/16 keeps most of the frame usable, and small apertures let in little light, which is exactly what you want in bright conditions.
- ISO. Keep it low, usually 100 or 200. Noise is far harder to hide in a dark, smeared frame than in a detailed one.
- Neutral density filter. A 6-stop ND buys you a few seconds of exposure in daylight; a 10-stop pushes you past 30 seconds. Learn one filter thoroughly rather than juggling four.
- Support. Tripod, remote release or the two-second timer, and image stabilisation switched off once the camera is locked down.
Spend time on the boring parts. A tripod that creeps in the wind, a filter smeared with fingerprints, a battery at 20% halfway through a long exposure — those are the things that ruin a slow-shutter session, not the shutter speed itself.
Know What Each Shutter Speed Does
- 1/15 to 1/4 second. Hands, feet and foliage blur while buildings stay readable. Good for street scenes with a ghost of movement in them.
- 1/2 to 2 seconds. Water turns silky, crowds disappear into pale streaks, and light trails begin to appear on a busy road after dark.
- 4 to 15 seconds. Waves flatten into mist, clouds draw long lines, and fairground rides become rings of colour.
- 30 seconds and beyond. The frame becomes about tone and shape rather than subject. Use bulb mode and time the exposure by hand or with an intervalometer.
Move the Camera on Purpose
If nothing in the scene is moving, move the camera. Intentional camera movement is the quickest way to make the ordinary unrecognisable.
Vertical and horizontal pans
Face a wood, a fence line or a row of beach huts and sweep the camera steadily up or along during the exposure. Rotate from the hips, not the wrists, and start the movement before you press the shutter so the speed is already settled. Shutter priority at 1/8 to 1/4 second is a sensible starting point; adjust until you see streaks rather than shapes.
Twist and zoom
A twist — rotating the camera bodily during a one-second exposure — turns foliage and crowds into radiating lines. A zoom pull, where you turn the zoom ring mid-exposure, does something similar to architecture and neon shop signs. Both are hit and miss by nature, so shoot in bursts and expect most frames to fail.
Two things help enormously: a level camera, checked with a grid overlay or a hot-shoe spirit level, and a subject with strong contrast. Blurring a flat wall gives you nothing. Blurring a bright window against a dark façade gives you structure.
Water, Sky and the Long Look
Anything that flows is a gift. A stream at 1/2 second keeps its texture; the same stream at 4 seconds turns to glass. On the coast, wave sequences at 8 to 20 seconds leave faint bands of foam across the frame, which is a reliable trick on a flat grey day when the light refuses to cooperate.
Clouds behave the same way. Thirty seconds on a breezy afternoon pulls high cloud into long diagonal strokes; several minutes and the sky becomes a soft wash. Watch which way the wind is taking it — cloud moving towards the camera reads very differently from cloud crossing the frame.
Salt spray, sand and rain are hard on gear. Wipe filters dry as you go and keep a microfibre cloth in a sealed bag rather than a pocket.
Paint With Artificial Light
After dark, slow shutters come into their own. Set the camera on the tripod, expose for the background, then let moving light do the drawing:
- Traffic. Find a bend or a bridge so the trails curve through the frame rather than running straight across it.
- Fairgrounds and markets. A few seconds turns bulbs and moving rides into loops of colour.
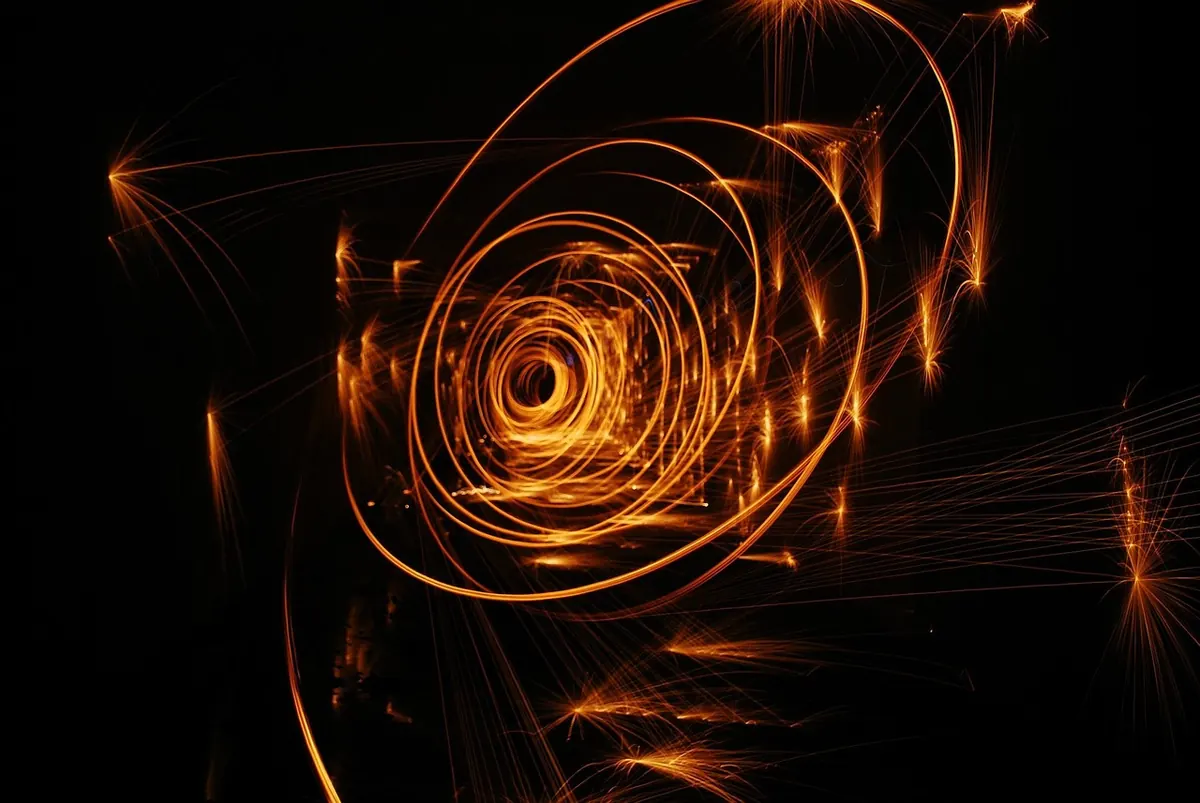
- Light painting. A torch, a sparkler or an LED wand waved during a 10-second exposure writes directly onto the frame.
- Wet pavements. Reflections double every light source and fill the lower half of the picture with colour.
Keep the background dark and underexposed by a stop or so; the lights will still record brightly and the shapes will stay clean.
Edit for Feeling, Not Accuracy
Abstract frames respond well to firm decisions. Push contrast further than feels comfortable, then pull it back a little. Crop hard into a square or a long letterbox to remove anything that reads as "subject". Cool the shadows, warm the highlights, or take the colour out altogether and let the shapes stand alone.
If a photograph only works because the viewer can tell what it is, it is not abstract yet.
Clean up sensor spots and stray litter, but resist the urge to sharpen. Softness is part of the point, and aggressive sharpening on a blurred frame only produces crunchy edges and halos.
Your First Practice Session
- Pick one location you know well — a bridge, a beach, a stretch of dual carriageway after dark.
- Take one lens, one filter and one tripod. Leave everything else at home.
- Choose a shutter speed before you frame anything, then shoot twenty frames at that single speed.
- Change one variable — a slower speed, or a pan instead of a static frame — and shoot twenty more.
- Review on a large screen and keep only the frames you would happily print.
Note which speed produced which effect and why. Repeat the exercise somewhere new next week. The settings become instinct within a few sessions, and the real work then shifts to spotting movement worth recording — a passing tram, a tide coming in, a fairground wheel turning against a dark sky.
Photo: Si_Platt / Pixabay