The light is doing exactly what you hoped. The tripod is level. Then you notice the security guard heading your way, your own reflection sitting across the glass entrance, and verticals leaning like a fence in a gale. None of it is unusual, and all of it was avoidable.
Architecture photography is unusually kind to the well-prepared. Buildings do not move, blink or complain. What changes is the light, the weather, the traffic and the people who control access. Twenty minutes of checking before you leave the house can buy back hours on site.
Sort out access before you think about lenses
Public pavement is usually fair game for hand-held shooting, but tripods, lighting and long lenses attract attention. Stations, shopping centres, heritage properties and private estates often have their own rules about equipment and commercial photography, and it is far easier to ask in advance than to explain yourself afterwards.
If the shoot is for a paying client, get the basics in writing: the date, the time window, who will meet you, which areas are included, and any restrictions on how the images may be used. For residential buildings, let residents know if you can. If you intend to fly, check the current drone rules with the relevant aviation authority and get the landowner's permission as well. Nothing here is legal advice — for contracts or anything involving access rights, take proper advice.
A quick access checklist
- Is the site public, private or somewhere in between?
- Are tripods, light stands or large bags restricted?
- Do you need a named contact, a booked slot or a sign-in?
- Whose working day will you interrupt, and have you warned them?
- Is there a mobile number for the person on site, saved offline?
Read the light, not just the forecast
Overcast light is genuinely useful: soft, even and easy to expose, particularly for facades with coloured panels or awkward materials. Direct sun is harder work — strong shadows, blown highlights on glass, and your own silhouette if you are careless — but it can give a building the contrast it deserves.
What matters more than the forecast is where the sun will be, and when. A south-facing elevation is not lit in the morning; a west-facing one is not lit at dawn. Check the sun's path for your date before you choose a time, and think about the buildings opposite, because their shadows climb the facade sooner than you expect. Wind deserves a look too, since it shakes tripods, moves trees and ripples water.
Verticals: get them right in camera
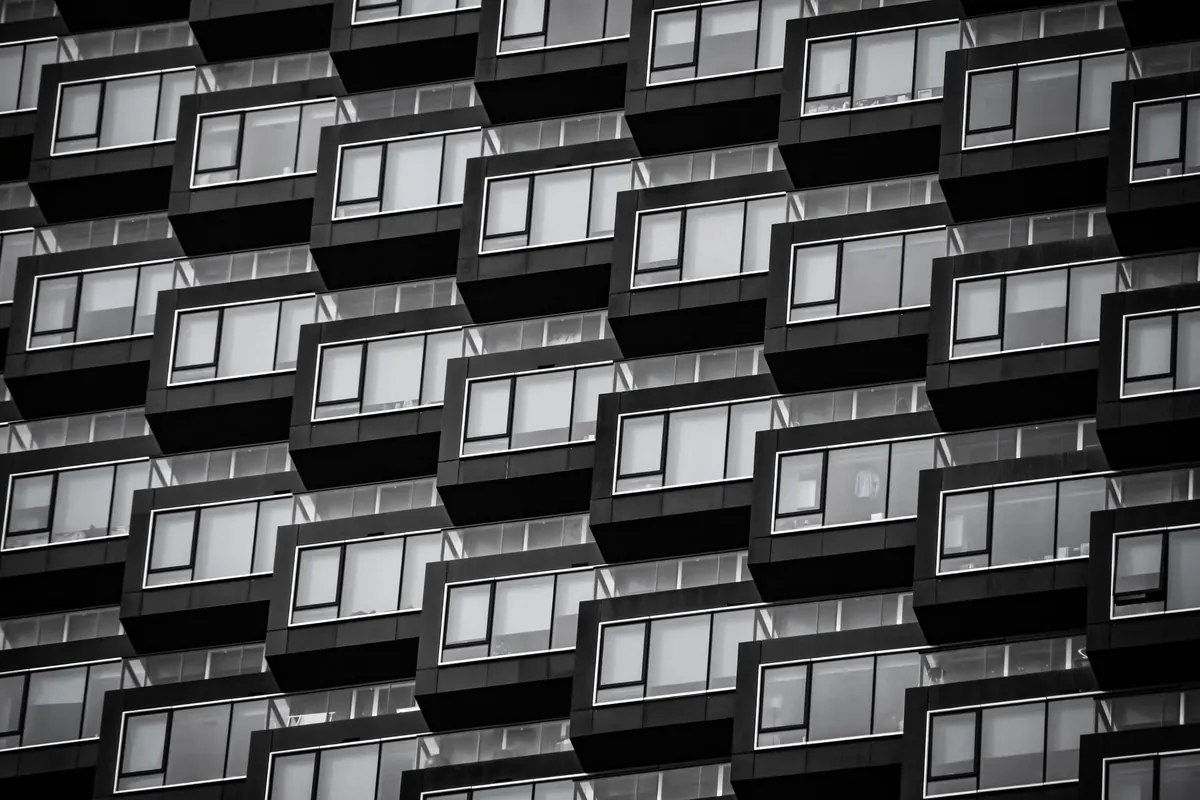
Converging verticals are the classic giveaway of a photograph taken in a hurry. They happen because the camera was tilted upwards, making the top of a building narrower than its base. The principle of the fix is simple: keep the sensor plane parallel to the facade and the horizon level.
In practice that means a tripod, a spirit level and a grid overlay in live view so you can judge the building's edges against the frame. If the composition needs the whole building and the lens is not wide enough, you have options: step back, go wider and accept stretched corners, or use a shift lens, which moves the optics rather than the camera. Software correction works well, but it crops, so leave room around the building when you shoot. A little extra space above the roofline is cheap insurance.
Permission is usually granted to the photographer who asks early, asks clearly and turns up when they said they would.
Lens choice: decide, then commit
There is no single right lens, only a right decision for the frame you have in mind. Wide-angles, roughly 16–24mm on full frame, pull the viewer in and make tight urban sites workable, but they stretch anything near the corners. Focal lengths around 35–50mm give a more natural sense of proportion, ideal for single elevations and entrance details. Telephotos compress distance, stack buildings together and let you isolate a facade pattern from across a road — invaluable when you cannot get close.
Whatever you carry, work in the middle of the lens's aperture range for consistent sharpness across the frame, and remember that very small apertures soften the image rather than improve it.
Reflections, glass and clutter
Glass is half of modern architecture and also a mirror. Before you press the shutter, ask what the facade is reflecting: your own shape, a van parked behind you, a blown-out sky, or the building opposite. Step sideways, raise the tripod, or use a polarising filter, which cuts glare at some angles but changes colour and can look uneven across a large pane.
Shooting through windows brings a similar problem. If the room is brighter than the exterior you will see in; if it is darker you will see the reflection instead. Wait for the balance to shift, which usually happens at dusk as interior lights come on and the sky is still bright.
Safety, kit and being easy to deal with
Most architecture shoots happen on streets, in car parks, on roofs and beside building works, so give the site the attention it deserves. Do not plant a tripod in a live traffic lane or a cycle path. Near construction, follow the site's rules on high-visibility clothing, helmets, escorts and sign-in, and ask if you are unsure. Keep your bag zipped and in front of you in busy areas, and tell someone where you will be if you are shooting alone at dusk.
Etiquette matters just as much. If a security guard or a resident asks you to move on, do it politely. Arguing rarely improves a situation and often ends the shoot; being the photographer who was easy to deal with is how repeat access is earned.
The night before: a ten-minute routine
Pack while you are calm and the light is irrelevant. Batteries charged, cards formatted, sensor checked for dust, tripod plate actually in the bag, remote release and lens cloth packed. Then the planning: sun position for the hour you will be there, weather for the hour after, the location saved for offline use, and the contact number written down.
Write a shot list of three to six frames rather than thirty. For a typical building: a wide from across the street, a straight-on elevation with true verticals, the entrance, one detail, and a dusk frame if the timing works. Arrive early, walk the perimeter before you unpack, and shoot the list in whatever order the light demands.
The checklist is not a cage. It is what frees you to look at the building properly — and that is where the good photographs come from.
Photo: JS 91 / Pexels